Start with a feeling.
Your space, your palette, your point of view. A sample brings the idea into focus before the full transformation.
Rich pigments. Reflective movement. A palette that’s anything but ordinary. Choose a color story to explore.
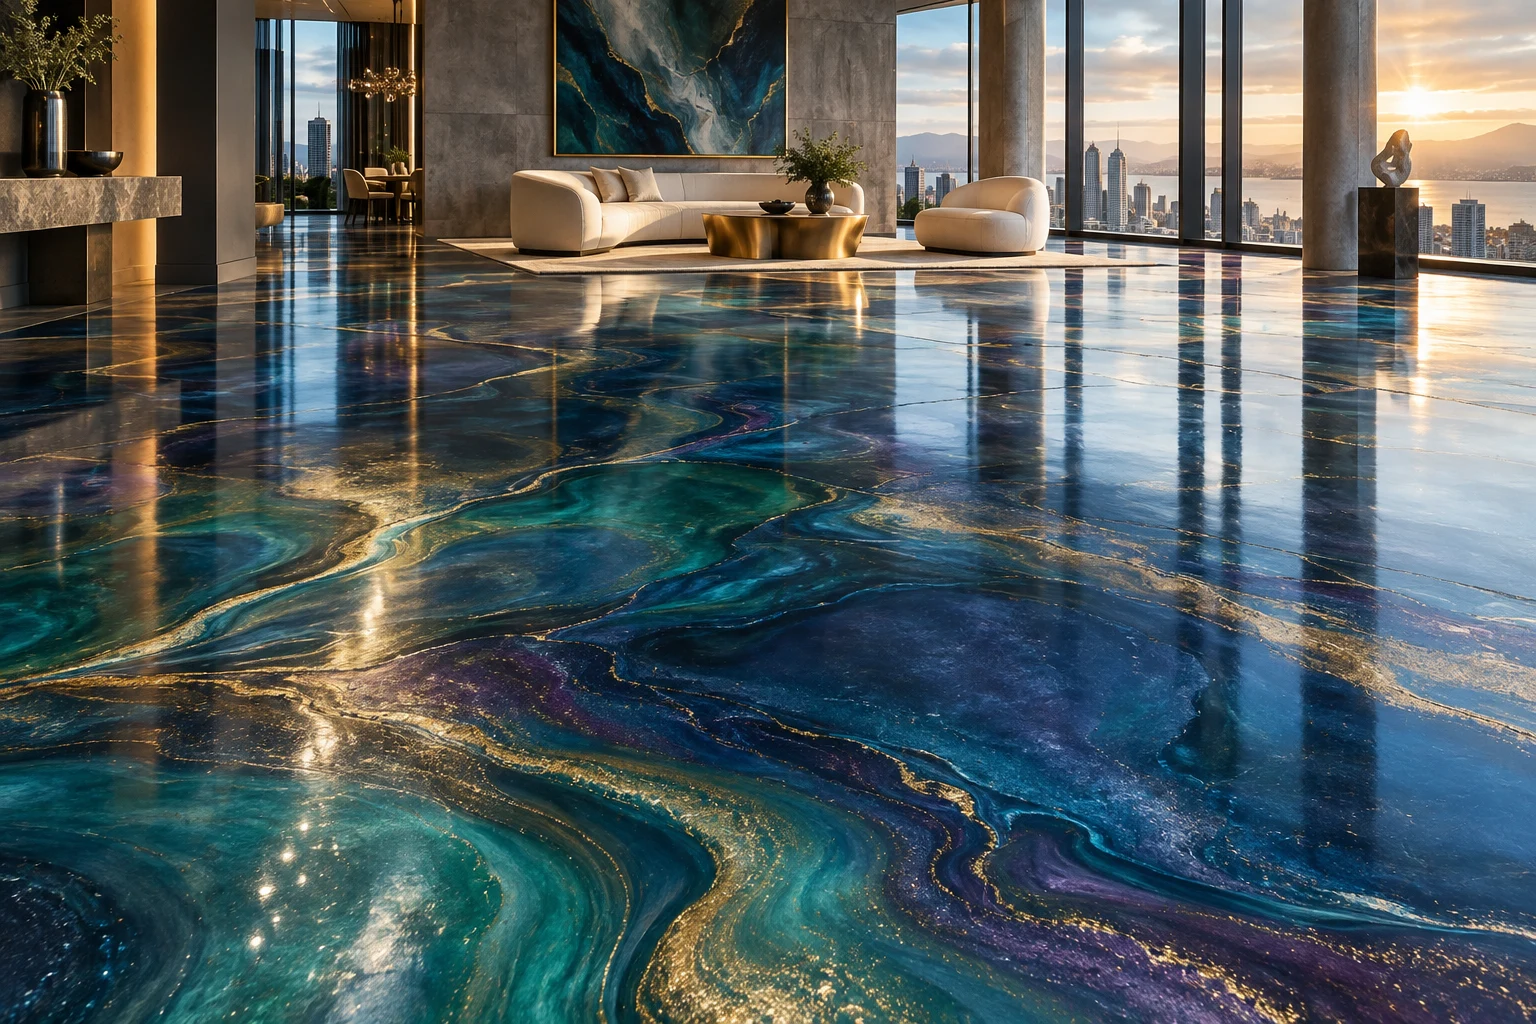 DIGITAL COLOR STUDY
Deep teal, luminous blue, and delicate gold. A jewel-box feeling for a space with presence.
Explore your quantities ↗Concept imagery and digital tints show mood, not an exact product color. Confirm your finish with a physical sample.Measure it. Pour it. See it come together.
Your epoxy batch, brought to life in a 3D cup.
A and B are tinted for clarity. The markings show volume, not height. Pigment is weighed in grams; powder displacement is not modeled.
Match the order to your product instructions. The blend animation is not a mixing-time recommendation.
Start by adding Part A.
The preview reserves 20% visual headroom. This is not an approved batch size or mixing vessel recommendation; use your manufacturer’s limits and suitable graduated equipment.
An approximate color and vein study based on your pigment proportions.
Screen colors are not calibrated pigment measurements. Pigment brand, opacity, base coat, application, and lighting change the real finish. Approve a physical sample before pouring your floor.
A + B volumes are calculated separately, with pigment shown by weight.
Each pour updates the cup and the numeric readout together.
Explore a color impression before confirming a real material sample.

From a quiet statement to a dramatic entrance, the right surface changes the entire room.
Plan your resin, hardener, and metallic pigment.
Start with your area. Match the settings to your exact product.
Mixed volume = area ÷ coverage × coats × (1 + allowance ÷ 100). For a volume ratio, Part A = total × A ÷ (A + B); Part B is the balance. Weight ratios require both component densities. Pigment is calculated on the combined A + B amount, before pigment is added. Displayed numbers are rounded; internal calculations retain precision. Very small quantities are shown with extra digits—use suitable measuring equipment.
Manufacturers publish different coverage and pigment rates. These references explain why a universal recipe would be misleading; the loaded example is not a preset for either brand.
Concrete Floor Supply — metallic system instructions ↗TotalBoat — pigment compatibility and dosage guidance ↗Your space, your palette, your point of view. A sample brings the idea into focus before the full transformation.
Substrate condition, moisture, and preparation shape the system. A great finish begins with the foundation.
Thoughtful application brings color and movement together. Each composition has its own character.
Follow the coating’s cure schedule and care instructions. Choose a sheen and traction profile that suit the space.
Area is the starting point. You also need the product’s coverage per mixed gallon or liter, number of identical coats, mixing ratio and whether that ratio is by volume or weight. This calculator makes each assumption visible.
More is not automatically better. Use a compatible pigment and stay within its manufacturer’s loading instructions. Confirm opacity and the final look on a sample before committing to the floor.
Each calculation covers one product and coat type. Run a separate plan for primer, the decorative coat, and topcoat, using each product’s own coverage and ratio.
The images are design concepts. Lighting, base color, pigments, application, and your surface affect the result. Use a physical sample to approve the real color and finish.
Tell us about the floor you have in mind. Share your space, your ideas, and a few details so we can discuss the right next step.
No measurements yet? That’s okay. An approximate area is helpful, but you can leave it blank.
Submitting an inquiry starts a conversation. A final quote depends on your space, surface preparation, and selected finish.